Switching from Screencastify to Book Creator: Your Expert Guide
Discover how switching from Screencastify to Book Creator transforms simple videos into rich, interactive multimedia projects for deeper engagement.

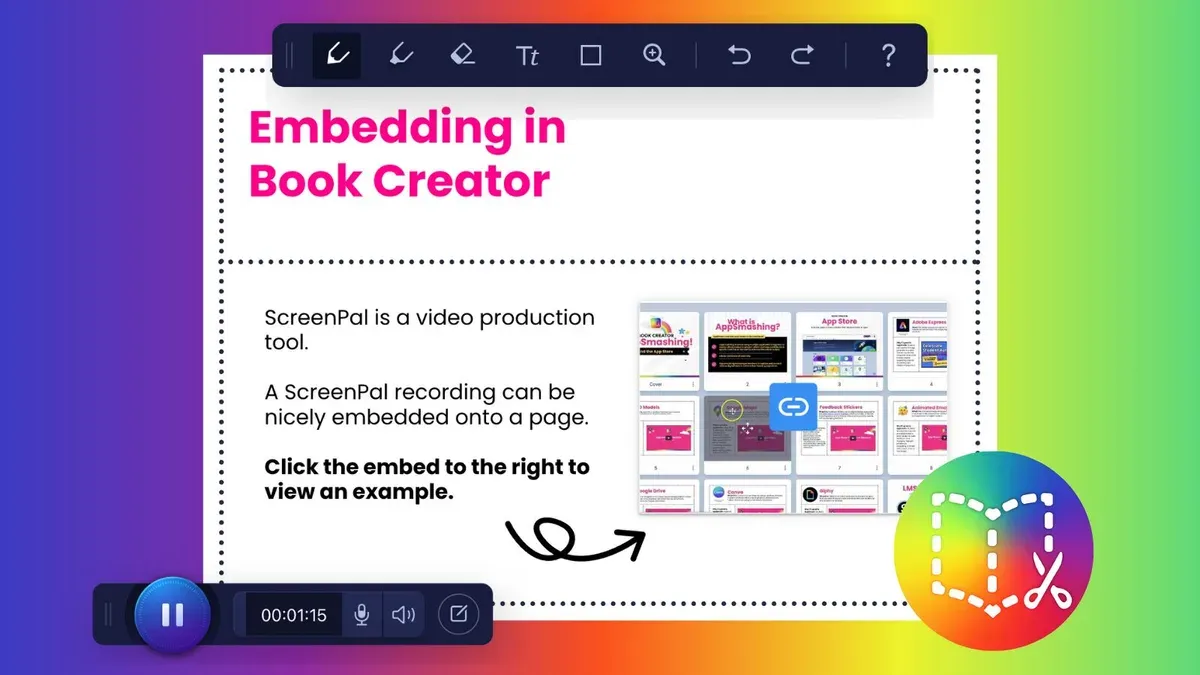
Short answer: Switching from Screencastify to Book Creator allows you to move beyond simple video recording to creating rich, interactive multimedia projects. Book Creator offers tools for combining text, images, audio, video, and drawings in one seamless platform, making it ideal for engaging students and enhancing digital storytelling.
This article guides you through the key differences between the two platforms, how to optimize your existing Screencastify content, and set up your first Book Creator project. You'll learn practical steps for converting and repurposing videos, avoid common pitfalls during the transition, and discover how to maximize the educational impact with Book Creator’s interactive features.
Understand the key differences between Screencastify and Book Creator
Screencastify primarily serves as a screen recording tool with straightforward video editing features such as trimming and merging clips. It excels at capturing live demonstrations, tutorials, and presentations directly from your screen, making it ideal for video-centric content delivery.
In contrast, Book Creator is designed for creating interactive ebooks that integrate multimedia elements including videos, audio recordings, images, text, and hyperlinks. It supports real-time collaboration, enabling students and educators to co-create content within a shared digital space.
| Feature | Screencastify | Book Creator |
|---|---|---|
| Primary Function | Screen recording and video editing | Interactive ebook creation with multimedia integration |
| Editing Tools | Basic trimming, cropping, and merging | Drag-and-drop multimedia placement, text formatting, audio/video embedding |
| Collaboration | Limited; export and share videos | Real-time multi-user editing and feedback |
| Output | Video files (MP4, etc.) | Interactive ebooks accessible on various devices |
For example, if you want to create a step-by-step science demonstration video, Screencastify handles the recording and simple edits efficiently. However, if you aim to build an interactive digital book where students can listen to explanatory audio, watch embedded videos, add their own reflections, and collaborate on projects, Book Creator provides a richer, more versatile environment that supports deeper engagement.
How to use Screencastify effectively before switching
Screencastify offers straightforward screen recording with basic editing tools accessible via the integrated editor. After recording, you can trim your video by selecting the desired clip range under the "Trim" tab, typically found in the editing toolbar. However, adding annotations or overlays requires exporting and using external software.
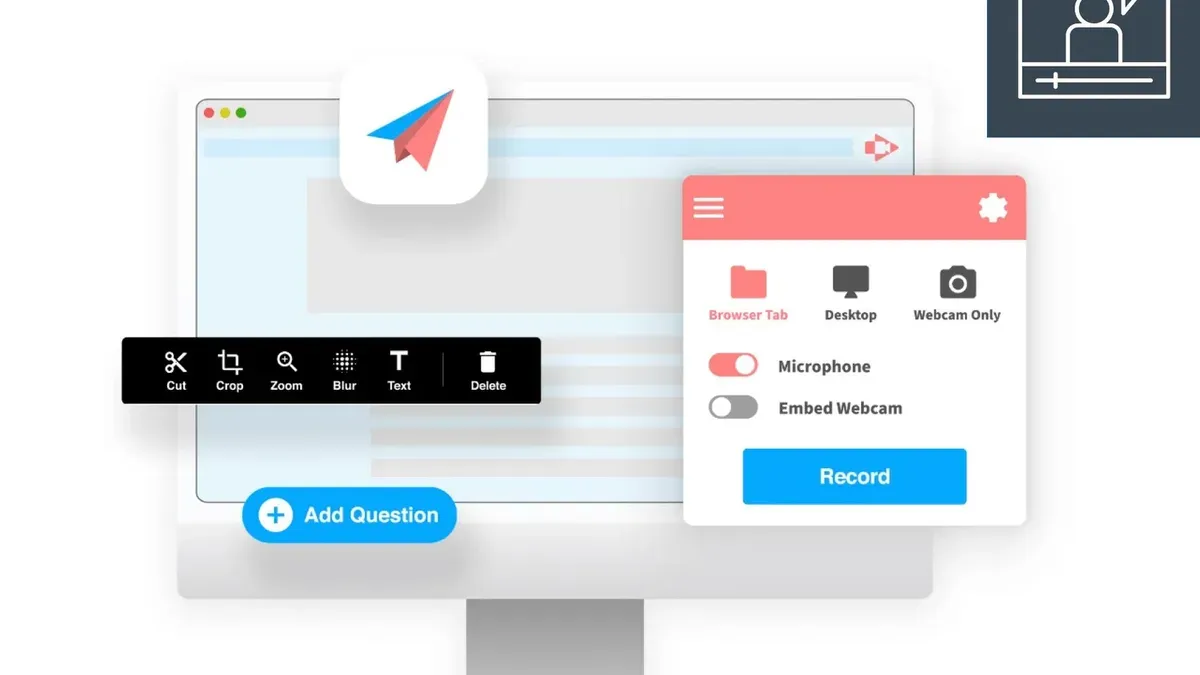
For a smooth workflow, start by choosing your recording mode—browser tab, desktop, or webcam—then click the red "Record" button. Once done, click "Stop" to open the editor. Export videos in MP4 format through the "Export" menu for compatibility with other platforms.
Users often note that while Screencastify handles video capture well, its editing is limited to trimming and basic cropping. For example, an educator wanting to add interactive quizzes or embed images within videos will find Screencastify inadequate, prompting a switch.
One common oversight is neglecting to check microphone settings before recording, leading to poor audio quality and requiring re-recording.
- Use the "Trim" tool immediately after recording to tidy clips.
- Export videos as MP4 for easier reuse or upload.
- Verify microphone and camera permissions under browser settings before recording.
- Plan content knowing Screencastify lacks interactive or multi-layer editing features.
Set up your first project in Book Creator
Begin by creating a free Book Creator account at bookcreator.com. After signing in, you'll land on the dashboard where you can start a new book by clicking the “+ Create a new book” button. Choose a format such as landscape or portrait depending on your project’s needs.
Import your existing Screencastify videos by selecting the “Add Media” icon within the book editor, then upload your video files directly from your device or cloud storage. Book Creator supports a variety of media types including images, audio, and video, enabling you to enrich your content beyond screen recordings.
Leverage built-in templates under the “Themes” menu to give your project a polished look with minimal effort. For example, select the “Interactive Story” theme to access interactive widgets like quizzes and voice comments. This encourages active engagement rather than passive viewing.
A simple project might be creating a book on a science topic: import your recorded explanation videos, add annotated images, and embed multiple-choice quizzes for review. This walkthrough reduces friction and builds your confidence in navigating the interface.
Checklist:
- Create a Book Creator account and sign in.
- Click “+ Create a new book” and select your format.
- Upload Screencastify videos via “Add Media.”
- Apply a theme from “Themes” for consistent styling.
- Insert interactive elements to engage your audience.
Convert and repurpose your Screencastify content in Book Creator
To bring your Screencastify videos into Book Creator, start by exporting your recordings as MP4 files. In Book Creator, use the "Add Video" option from the toolbar, then upload your Screencastify video directly to the page. Once embedded, you can enhance your videos with annotations such as text boxes, arrows, or shapes using the "Draw" and "Text" tools, providing context or highlighting key points.
Next, add interactivity by inserting buttons or links that guide viewers to other pages or external resources, turning a static video into an engaging multimedia lesson. For example, embed a Screencastify tutorial video on a page, then add a button labeled "Try it Yourself" that links to a practice activity on the next page. This method organizes your content into a cohesive ebook or lesson that blends video with interactive elements.
This workflow transforms your existing Screencastify content into a richer learning experience, making it easier for students to engage with and revisit material in various formats.
- Export Screencastify videos as MP4 files
- Upload videos to Book Creator using the "Add Video" tool
- Enhance videos with annotations via "Draw" and "Text" tools
- Add interactive buttons or links for navigation and engagement
- Organize multimedia elements into ebooks or lessons
Common mistakes to avoid when switching platforms
One frequent hurdle is ignoring format compatibility issues. For example, Screencastify videos are typically MP4 files, but Book Creator requires you to upload files within specific size limits and formats. Trying to upload large, uncompressed videos can cause delays or failures, disrupting your workflow.
Another common mistake is failing to plan content structure tailored to Book Creator’s interactive format. Simply importing videos without reorganizing content into pages or chapters misses the platform’s potential for layered storytelling. A user testimonial described frustration when their linear video lessons felt cramped and unengaging because they did not use Book Creator’s page layouts and multimedia widgets effectively.
Finally, many underestimate the learning curve involved with Book Creator’s interactive features. Adding audio, annotations, and quizzes requires time to master the interface and understand how to integrate elements smoothly. One educator shared how initial impatience led to superficial use of tools, but dedicating time to explore features unlocked significant student engagement.
- Check video format and size before uploading to Book Creator
- Plan your project layout to utilize pages and interactive elements
- Allocate time to learn Book Creator’s interactive tools for best results
Maximize educational impact with Book Creator’s interactive features
Book Creator allows you to layer audio, text, drawings, and video elements on each page, creating dynamic multimedia experiences that go beyond simple video recording. For example, you can add a recorded explanation alongside a student’s drawing or embed a video clip with interactive text boxes to prompt reflection.
Collaborative features enable students to contribute to the same book in real time or asynchronously, fostering teamwork and peer learning. A class project on local history might combine student-recorded interviews, photographs, and annotated maps, all within one interactive ebook.
Publishing options are designed for classroom sharing, allowing you to export books as PDFs, ePub files, or direct web links with customizable privacy settings. This flexibility makes it easy to distribute content to parents, colleagues, or other classrooms.
Educators report noticeable increases in student engagement when incorporating Book Creator’s interactive tools, as these features encourage active participation rather than passive viewing.
- Use the + button to add audio, video, or drawing layers to any page.
- Invite collaborators via the Share menu and monitor contributions in real time.
- Export your project using the Share menu’s export options tailored for classroom distribution.
Read next
- Switching from Screencastify to Adobe Express: Your Expert Guide
- Switching from Loom to Screencastify: Your Expert Transition Guide
- Switching from Loom to Book Creator: Your Expert Transition Guide
- Book Creator Rollout Plan for Substitute Teachers: An Expert Guide
Frequently asked questions
How to edit in screencastify?
To edit in Screencastify, open your recorded video and click the “Edit” button. You can trim the beginning or end by dragging the sliders on the timeline. For more detailed edits, use the cut tool to remove sections inside the video. Remember to save your changes before exporting.
how to edit in screencastify
Editing in Screencastify involves trimming and cutting clips directly within the platform. Access your video from the dashboard, select “Edit,” then drag handles to trim or split the video. Use the preview feature to confirm edits and save your updated file.
how to use screencastify
To use Screencastify, install the Chrome extension, then choose your recording mode: browser tab, desktop, or webcam. Click the record button to start capturing, and use annotation tools during recording if needed. After recording, review, trim, and export your video to Google Drive or local storage.
can I import Screencastify videos into Book Creator
Yes, you can import Screencastify videos into Book Creator by exporting your video file from Screencastify first. Download the video as an MP4, then upload it into Book Creator’s media library or drag it directly into your project pages to integrate video content seamlessly.
is Book Creator better than Screencastify for classroom use
Book Creator offers a broader range of interactive features beyond video recording, such as embedding images, drawings, audio, and text, making it versatile for multimedia projects. Screencastify focuses primarily on video capture and basic editing. Depending on your classroom goals, Book Creator can enhance student engagement with diverse content types, while Screencastify remains ideal for straightforward video lessons.
Limits of this guide
This guide does not cover advanced video editing software beyond Screencastify or Book Creator. If your projects require high-end editing capabilities such as multi-track video timelines, color grading, or advanced audio mixing, you will need specialized tools like Adobe Premiere Pro, Final Cut Pro, or DaVinci Resolve. This guide focuses on transitioning between two accessible platforms optimized for educational multimedia and interactive storytelling rather than professional-grade video production.
Quick checklist
- Compare key features: video-centric Screencastify versus interactive Book Creator
- Use Screencastify’s built-in trimming and annotation tools fully before exporting
- Create your first Book Creator project by selecting a template suited to your storytelling goals
- Import and repurpose Screencastify videos within Book Creator pages
- Avoid common pitfalls like neglecting interactive elements or skipping file format checks
- Leverage Book Creator’s audio, drawing, and embedded media options to boost engagement
The most practical next step is to start a simple project in Book Creator using your existing Screencastify videos. This hands-on approach reveals how interactive features transform your content, helping you decide if the switch enhances your educational goals and workflow.