Switching from Clever to ClassLink: What You Need to Know
Switching from Clever to ClassLink changes how users access digital learning with improved rostering, single sign-on, and customizable app management.

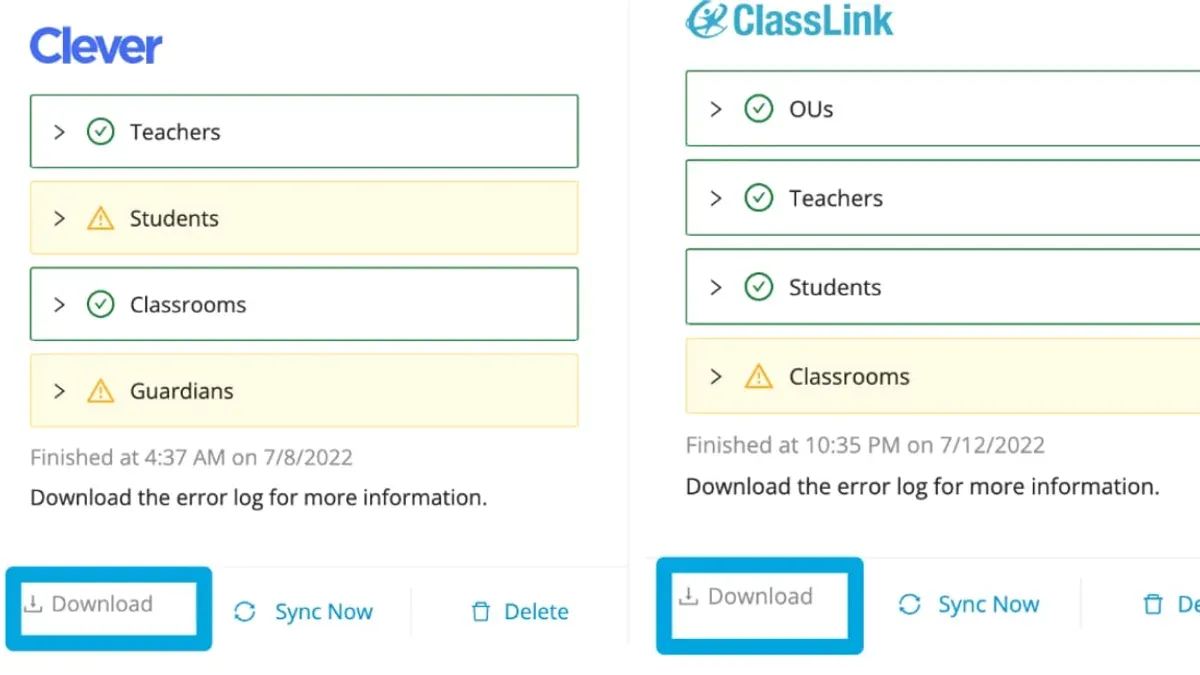
Short answer: Switching from Clever to ClassLink changes how users access and manage their digital learning resources. ClassLink provides single sign-on, rostering, and analytics features similar to Clever but with a different interface and user experience you need to understand to support your users effectively.
This guide covers what ClassLink is and how it works compared to Clever, how users sign in, common reasons ClassLink might not work, practical fixes, and how to disable it if needed. You’ll also find tips to avoid common pitfalls during the transition and a direct comparison of Clever links versus ClassLink access. This is a user-focused resource designed to help you manage the experience shift and troubleshoot quickly rather than just run through technical migration steps.
What is ClassLink and why switch from Clever?
ClassLink is a comprehensive platform designed to simplify digital learning access through single sign-on (SSO), automated rostering, and streamlined app launching. Unlike Clever, which focuses heavily on a straightforward SSO portal, ClassLink offers deeper integration capabilities with a broader range of educational tools and systems. This allows IT administrators to manage user access more flexibly and tailor the experience to district-specific requirements.
One key difference is ClassLink’s ability to support multiple rostering standards simultaneously, such as OneRoster and SIF, which can reduce manual updates and syncing errors. Additionally, ClassLink provides a cloud-based launchpad where students and educators can access all their apps and resources in one place, with customizable tiles and folders. Some districts have switched to ClassLink due to these enhanced integration options, improved user experience, or shifts in vendor pricing and policy.
For example, a mid-sized district that previously used Clever found that ClassLink’s automated rostering cut their manual data entry workload by nearly half, while teachers appreciated the personalized app launcher. The district also benefited from ClassLink’s robust reporting tools to monitor usage and troubleshoot access issues quickly.
| Feature | Clever | ClassLink |
|---|---|---|
| Single Sign-On | Yes, basic portal | Yes, with customizable launchpad |
| Rostering Standards | Primarily OneRoster | OneRoster, SIF, and others |
| App Management | Portal links | Customizable tiles, folders |
| Integration Depth | Standard integrations | Advanced, flexible integrations |
| User Reporting | Limited | Detailed analytics and reports |
User satisfaction surveys indicate that districts switching to ClassLink often cite more reliable rostering and a better end-user experience as top reasons for the move. However, the transition requires planning to align ClassLink’s capabilities with district policies and workflows.
How does ClassLink work?
ClassLink operates as a single sign-on (SSO) platform that streamlines access to educational tools by managing user identities centrally. When a student or teacher logs in, ClassLink authenticates their credentials through your district’s identity provider or directly via ClassLink’s own system, depending on your configuration. This authentication grants entry to all linked apps without repeated logins.
ClassLink integrates tightly with Student Information Systems (SIS) such as PowerSchool, Infinite Campus, or Skyward. It syncs user data, class rosters, and permissions daily or on-demand, ensuring that each user sees only the apps and resources assigned to their specific role and classes. This rostering automation reduces manual updates and errors.
Once logged in, users land on a customizable dashboard displaying all their assigned apps, websites, and documents. For example, a 7th-grade math teacher will see their LMS, assessment tools, and gradebook apps, while students see their assigned learning platforms and resources. Clicking an app launches it instantly through ClassLink’s secure SSO token, eliminating separate password prompts.
Illustration: The login flow starts with the user entering credentials on the ClassLink portal, which verifies identity against the SIS-linked roster. ClassLink then generates a session token granting access to integrated apps. This flow repeats seamlessly until logout. This design balances security with ease of use, reducing friction for users and support teams.
How to sign in to ClassLink and get to ClassLink
To access ClassLink, start at your district's customized ClassLink portal URL, usually formatted like districtname.classlink.com. You can also download the ClassLink app on iOS or Android devices for quick access. Both students and educators use the same portal, but login methods can differ depending on your district’s setup.
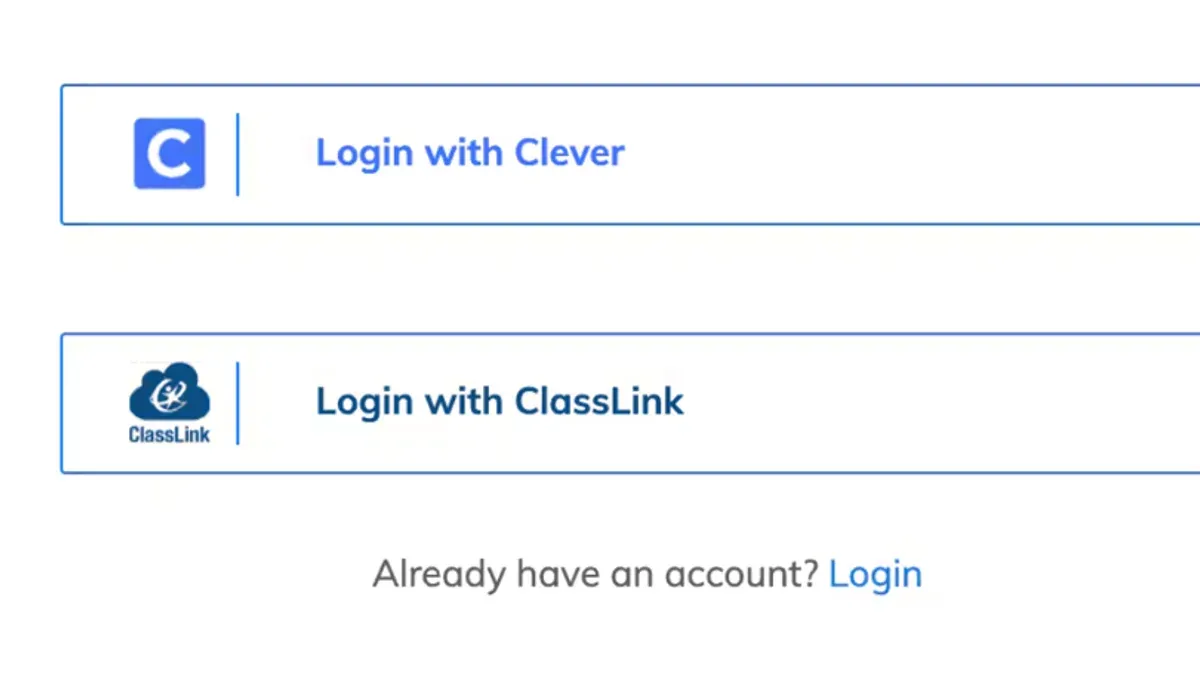
For first-time users, the typical process begins with entering your credentials, often your district-provided email or username and password. Some districts enable single sign-on (SSO), allowing you to log in using your existing Google Workspace or Microsoft 365 credentials without creating a separate password. This reduces the chance of forgotten passwords and speeds up access.
Imagine a high school student logging in: they navigate to their district’s ClassLink URL, select the Google SSO button, and enter their Google email and password. Once authenticated, they land on their personalized ClassLink dashboard loaded with their assigned apps and resources. Educators follow a similar process, often using SSO tied to their institutional accounts.
Remember to bookmark the ClassLink portal or pin the app for faster access. If your district requires a password, use a password manager or write it down securely to avoid login delays. If you encounter login errors, check your credentials carefully and confirm your account status with your IT admin.
- Go to your district’s ClassLink portal URL or open the app
- Choose your login method (email/password or SSO)
- Enter credentials carefully
- Bookmark the portal or pin the app for easy access
- Contact IT if login fails or credentials are forgotten
Why is ClassLink not working or why is ClassLink down?
ClassLink service interruptions or login issues usually stem from a few common causes: network connectivity problems, expired or incorrect credentials, or backend service outages. If users report being unable to sign in or access apps, first check the official ClassLink status page at status.classlink.com to see if there is a known outage. This page provides up-to-date information on system availability and ongoing incidents.
Typical error messages include "Authentication failed," "Service unavailable," and "Network timeout." For "Authentication failed," verify that your district credentials are current and that Single Sign-On (SSO) settings align with your identity provider. For "Service unavailable," confirm via the status page if ClassLink is down; if so, wait for resolution or follow your district’s IT guidance. "Network timeout" often points to local connectivity issues—check firewall settings and ensure ClassLink URLs aren’t being blocked.
For example, if multiple users suddenly cannot log in and the status page shows no issues, the problem might be a misconfigured firewall blocking ClassLink domains. IT administrators should verify that domains like launch.classlink.com and associated authentication servers are whitelisted. A common help desk ticket resolution involves instructing users to clear browser cache or try an alternate browser before escalating to network checks.
- Check ClassLink status page for outages
- Verify user credentials and SSO configuration
- Inspect local network/firewall settings for blocked domains
- Clear browser cache or try a different browser
- Contact district IT or ClassLink support if issues persist
How to fix ClassLink when it’s not working
If ClassLink won’t let you log in, start by clearing your browser’s cache and cookies. Old cached data can block authentication. In Chrome, go to Settings > Privacy and security > Clear browsing data, then select “Cookies and other site data” and “Cached images and files.” After clearing, restart the browser and try logging in again.
Next, verify your network connection. ClassLink requires stable internet access and permissions to connect to district servers. Check that your device is on the correct Wi-Fi or Ethernet network and that firewall or antivirus settings aren’t blocking access. If your network uses a proxy or VPN, disable it temporarily to test connectivity.
If login issues persist, reset your password or contact IT support. Users often miss that expired or locked accounts can cause login failures. When resetting, follow your district’s password reset process exactly, using the provided reset link or portal. If you can’t reset on your own, submit a support ticket with your username and a description of the problem.
For example, a teacher couldn’t access ClassLink due to an expired password but didn’t realize the password reset email went to their spam folder. After clearing the browser cache and finding the reset email, they successfully logged back in.
- Clear browser cache and cookies
- Check network connection and permissions
- Disable proxy or VPN if applicable
- Reset password via district process
- Contact IT support if issues continue
How to turn off ClassLink or get rid of ClassLink
If you need to disable or remove ClassLink, the approach depends on whether you are a user or an administrator. As a user, you can log out of ClassLink by clicking your profile icon in the top right corner and selecting "Sign Out." To remove the ClassLink app from your device, uninstall it like any other application via your device’s app management settings. Keep in mind that simply logging out will stop access, but uninstalling removes the app entirely from the device.
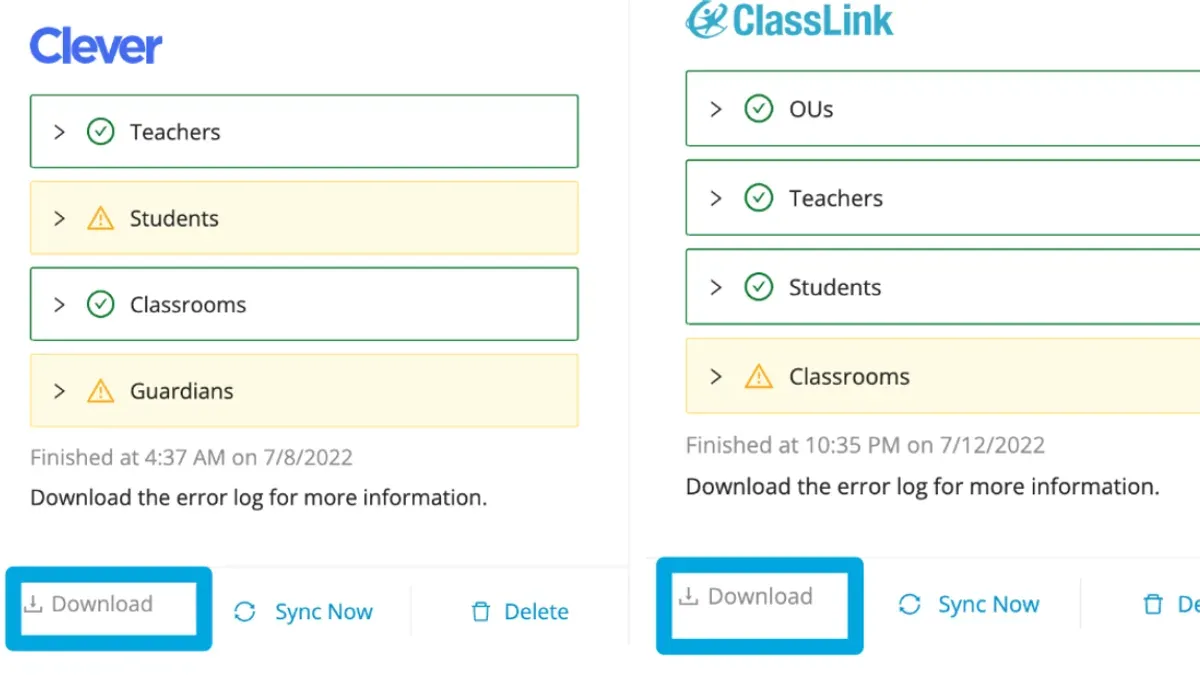
Administrators have control over user accounts and system-level integrations. To deactivate a user’s access, go to the Admin Console, navigate to Users, select the specific account, and use the "Deactivate User" option. This action prevents the user from logging in without deleting their data. For removing ClassLink integrations, access the Integrations tab and disable or delete the linked services. Ensure you communicate these changes clearly to users to avoid confusion and loss of access to essential resources.
For example, if a district is moving away from ClassLink, the admin might first deactivate all user accounts, then remove app integrations with the student information system (SIS). After this, users can uninstall the app from their devices to complete the removal. Before deleting accounts or integrations, verify that all necessary data backups are in place and that users have alternative access paths to their applications.
- Users: Log out via profile menu or uninstall the app from device settings.
- Admins: Deactivate users through Admin Console > Users > Deactivate User.
- Admins: Remove integrations via Admin Console > Integrations > Disable/Delete.
- Confirm data backup and communicate changes before removal.
- Advise users on alternative access after ClassLink removal.
Common mistakes to avoid when switching from Clever to ClassLink
Not communicating the switch clearly to users causes confusion and support overload. One district delayed announcement emails until the day before the transition, leading to mass password reset requests and frustrated teachers unable to access resources. Announce changes at least two weeks in advance via email, staff meetings, and student briefings.
Failing to synchronize rostering data properly creates access mismatches. For example, a district that imported SIS data without verifying grade-level mappings found students locked out of their apps or assigned incorrect roles, requiring hours of manual correction. Always validate roster sync settings under the ClassLink Admin Console’s "Rostering" tab and run test imports before going live.
Ignoring training needs for students and staff results in slower adoption and more support tickets. A district that skipped live walkthroughs and relied solely on emailed guides saw a spike in helpdesk calls for login steps and app navigation. Schedule interactive training sessions and provide clear, role-specific job aids to reduce frustration and downtime.
- Communicate the switch at least two weeks ahead
- Verify and test roster sync settings in ClassLink Admin Console
- Provide live or recorded training tailored to user roles
How clever links for students compare to ClassLink access
Clever uses unique student links that act like direct keys to specific apps or resources. Students typically receive these links via email or a learning management system, clicking them to bypass additional login steps. This approach simplifies access to individual tools but can fragment the user experience since each link opens separately and may require repeated logins or password entries if single sign-on isn’t fully enabled.
ClassLink replaces these individual links with a centralized portal or app that students open once to access all their assigned resources. Upon signing in through the ClassLink dashboard, students see a customizable grid of apps and tools tailored to their role and classes. This unified interface reduces the need to remember multiple URLs or passwords, streamlining daily workflows.
For example, a student using Clever might click a link to launch a math app, then separately click another link for reading software, potentially encountering multiple login prompts. In contrast, with ClassLink, the student logs in once to the portal, then clicks app icons directly without additional passwords. One student remarked, "With ClassLink, I just open one page and everything is there—no hunting for links or passwords." This difference can reduce confusion and IT support tickets related to lost or incorrect links.
During troubleshooting, remember that Clever issues often involve broken or outdated links, while ClassLink problems usually revolve around portal access or sync errors. Preparing students for the shift from link-based to portal-based access helps set clear expectations and smooth the transition.
Frequently asked questions
How to get to classlink?
To get to ClassLink, open a web browser and enter the URL provided by your school or district, typically something like https://launch.classlink.com/yourdistrict. Bookmark this link for easy access. Ensure you use the exact link assigned to your organization to avoid login issues.
How to go to class link?
Going to ClassLink means navigating to your specific ClassLink portal via your school’s designated URL. Use a supported browser and type the portal address directly into the address bar or access it through your school’s intranet or learning management system if linked.
How to get rid of classlink?
To remove ClassLink from a device, uninstall the ClassLink app if you have it installed. For web access, simply clear saved passwords and bookmarks related to ClassLink from your browser. If ClassLink is integrated into your device’s login, contact your IT administrator to disable or remove the service properly.
How to log in to classlink?
Log in to ClassLink by entering your school credentials on the login page, usually your email or username and password provided by your IT department. If your school uses single sign-on, follow those steps. Remember to select your school or district if prompted.
how to get to classlink
Access ClassLink by typing your school’s ClassLink URL into a browser. If you are unsure of the exact link, check with your school’s IT support or look for a notification or email from your school containing the ClassLink portal address.
What this guide does not cover
This guide does not cover detailed backend migration processes or custom SIS integrations that require vendor support. It assumes you have baseline IT competency or access to IT professionals for complex troubleshooting. Not all issues can be resolved without cooperation from your district’s IT department or ClassLink support. For deep integration questions or large-scale migration planning, consult your vendor representatives or IT leadership.
Quick checklist
- Confirm user accounts and rostering are fully synced between your SIS and ClassLink.
- Communicate sign-in URL and credentials clearly to students and educators.
- Test sign-in on multiple devices and browsers to verify access.
- Set up ClassLink’s password reset and support contact options within your portal.
- Train staff on recognizing common errors like expired sessions or incorrect credentials.
- Have your IT team verify firewall and network settings allow ClassLink traffic.
- Disable Clever links only after confirming all users can access ClassLink without issues.
Start by ensuring your user roster sync is accurate and complete. Without synchronized accounts, users will face immediate access problems. Confirm this first to avoid unnecessary troubleshooting later.
See also: Moving from ClassLink to Clever Checklist: A Practical Guide · Switching from ClassLink to Mosyle: A Clear Step-by-Step Guide · ClassLink Implementation Timeline: What You Need to Know to Get Started · How to Build a Clever Implementation Timeline That Works